Having fresh fruits and veggies is one of the many benefits of gardening. One particularly interesting veggie to grow is the bell pepper. What’s neat about the bell pepper is the different flavors that can be grown by simply postponing the harvest date. From green to red to orange, the many flavors are all delicious in their own right. Here are some expert tips to help you start growing bell peppers indoors!
Varieties Of Bell Peppers
There are dozens of varieties of bell peppers all with their own unique taste and flavor profile. Some are sweeter than others, while others can be a bit more bitter. The good news for us gardeners is that the vast majority of them have very similar care routines. Below is a general overview that will work for most bell pepper varieties. So, feel free to pick whichever suits you.
The only difference you might find is how to plant and germinate your seeds. If growing from seeds, check the seed packet and be sure to follow all the instructions listed.
Providing Ideal Growth Conditions
To start, bell peppers like to be grown in warm conditions. You’ll want the average temperature to be in the 70-75 degree Fahrenheit range. While the plant can survive if it gets cooler, it likely won’t flower or produce anything edible. Bell peppers are not particularly picky on their soil, so any commercial potting soil will work well.
In summer, the heat of the sun will generally be enough to keep the plant warm. You should also be sure to remove the plant from anywhere that gets drafty to is exposed to cool air.
For colder seasons, it might be smart to add some supplemental heating. A small grow light can help you hit your lighting needs while also helping improve the temperature around your plants.
When growing from seeds, it’s very important to keep the soil above 70°F or the seeds will not germinate. A good place to keep your seed trays is on top of the refrigerator as this is naturally a bit warmer. You can keep them in seed trays until the seedlings are a few inches tall, and then transplant them to their permanent pots or move them outside. Peppers transplant well and it is not too difficult to do so.
This is also a great way to get a start on the growing season in areas where it might take a while to reach proper outdoor temperatures. You can start from a seed or seedling indoors, and then move them outside when it warms up. You can even move them back indoors during the colder months. Of course, it’s always possible to just leave them inside permanently and still grow perfectly healthy plants.

Tip
Another commonly used technique with bell peppers is to plant them in pairs. Having two peppers very close together is said to both increase pepper yield, as well as provide additional protection from the sun and too intense light.
Container Choice
Bell peppers are a relatively large pot and need a decent amount of room to grow. Start with a 3-5 gallon container for each plant, or pair, you intend to grow. This gives your plants enough space to grow properly.
In terms of material, nearly anything can work provided it has proper drainage. Our favorite is always clay pots as they are cheap, easy to find, and naturally moisture-wicking.
Bell Peppers Love the Sun
As mentioned above, bell peppers are warm-season crops and germinate best in temperatures of at least 70°F, keep them around this temperature for best results. You’ll also want to provide them with plenty of bright light.
Peppers generally like to have more light than other plants, aim to hit 12-14 hours per day. This is pretty difficult to hit, especially in the winter, so don’t be afraid to supplement natural sunlight with a grow light. Keep in mind that grow lights are typically less intense than normal sunlight, so you may need to add a few hours of extra lighting.
If your peppers start to look flimsy or bend, using a simple wire guide is an easy solution. This generally is an issue when growing outdoors, but can also crop up from time to time for larger indoor ones as well.
Watering & Feeding
Watering should be done when the soil is about an inch dry on top. You can check by gently inserting a finger to this depth and feeling for moisture. Keep the soil moist but not drenched. In most climates, this amounts to roughly 1-2″ of water per week.
However, bell peppers are quite sensitive to the sun, too much of a good thing can be bad for them. If in a very warm climate watering every day may be necessary. At the very least, misting the plant daily can help combat high temperatures without over-watering. It’s best to give your plants a once-over every day or so, and if they’re looking a bit wilted see if a little extra water perks them up.
For feeding, use a half-strength, water-based fertilizer. Do this roughly once a month. Using an organic or homemade fertilizer is also another good option. You can also re-pot with fresh soil once a year to help recycle nutrients back into the soil.
Growth Time
Don’t get discouraged if your peppers don’t appear immediately. It’s not uncommon for peppers to not be ripe until late into the season. This is especially the case in very hot climates where the peppers will wait until cooler nights later in the season to really start growing. Peppers usually take 60-90 days until they’re ready to harvest, so patience is key. This can be even longer indoors, so don’t worry if your peppers appear to be taking a long time to grow; it’s completely normal.
Harvesting Your Bell Peppers
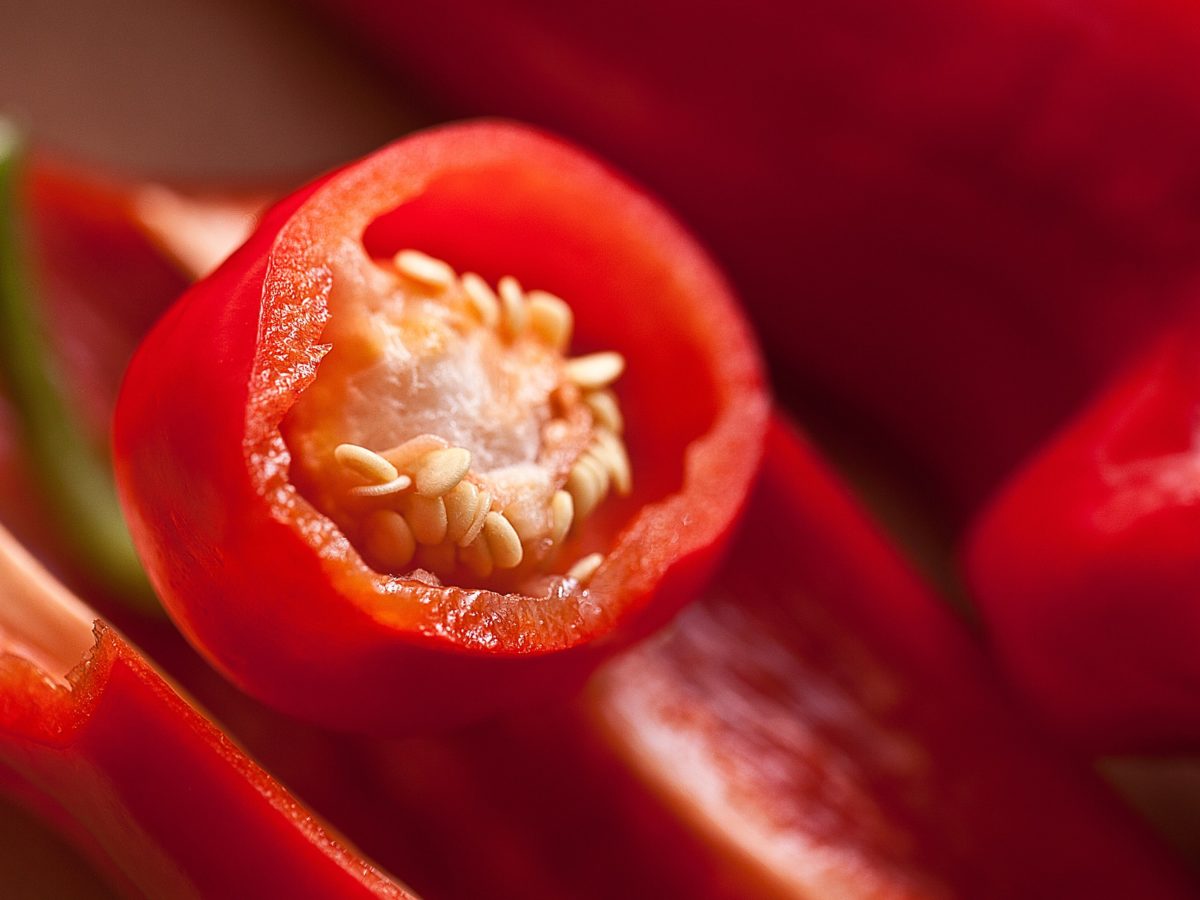
You can look to harvest your peppers as soon as they reach your desired size. Make sure you wait for the plant to grow to full size as they generally become sweeter and vitamin C rich as they age. In fact, the green and red peppers you see in the typical supermarket are the same type of vegetable just picked at different times. If you’re looking for a sweeter pepper, wait until they turn red to begin picking. Green can be a bit more bitter, but are perfectly edible for those looking for that flavor.
While harvesting, snap your peppers with a sharp knife so as to avoid repeatedly cutting and hurting the plant. Once harvested, you can refrigerate your peppers and they will last for about 1-2 weeks after picking. With proper care, a single plant will produce vegetables for upwards of 5 years.
It is possible to have a plant continue to flower in the winter provided the right conditions. As noted above, this generally means giving the plant the necessary amount of sunlight and warmth. If not, a bit of dormancy in the winter is expected. Your plant will likely spring back to life (pun intended) in the spring when the temperature begins to rise.
Growing Bell Peppers Indoors
Bell peppers take a bit of time and patience, but it’s well worth the effort. Having delicious bell peppers ready to pick and eat is a delicious treat. Now that you’ve learned all the tips for growing bell peppers indoors go out there and start your own garden!
FAQ
How Much Light Do Bell Peppers Need?
Bell peppers need a lot of light, shoot for 12-14 hours of bright but indirect light. While they can survive with less they may not flower.
How Long Do Bell Peppers Take To Grow?
Bell peppers have a long growing season of 60-90 days. If it’s taking a while for your peppers to grow don’t get discouraged as this is expected. Many gardeners report that they get the most peppers towards the end of a growing season when it starts to cool down.
How Often Should I Water Bell Peppers?
You should give them a watering whenever the top inch of the soil is dry to the touch. Look to saturate the soil on each watering. If you’re using a pot, look to see water begin to leak out of the drainage holes as that is usually an adequate amount.