One of the most exciting aspects of gardening is start from seeds and slowly turning them into a full, healthy plant. There’s something very inspiring about going from nothing to something. If you’ve only grown from seedlings before, starting from seeds may seem a bit difficult. But, have no fear, today we’ll look at some tips to help you grow thriving plants in your own home starting from the smallest seed.
Growing From Seeds Quickstart
We’ll cover each topic in-depth below, but if you’re just looking for a quick overview on how to get started this section is for you. Here’s a few quick steps to successfully growing your next plant from seeds.
- Start by reading the seed packet. This should give you specific advice for your plant and give you all the information you need to get started.
- Prepare a container, usually a seed starting tray, and fill it with a loose soil.
- Moisten the soil with a spray bottle and continue to keep the soil moist during germination. You can cover the container with plastic to help lock in moisture. Using a spray bottle also helps prevent the water from dislodging your seeds.
- Sow your seeds to the proper depth and spacing based on the details provide on the seed’s packets.
- Place the container in an area that gets lots of indirect light, or use a grow light to supplement.
- Keep the seeds in a warm area to help heat up the soil. Many seeds germinate best in warmer soil.
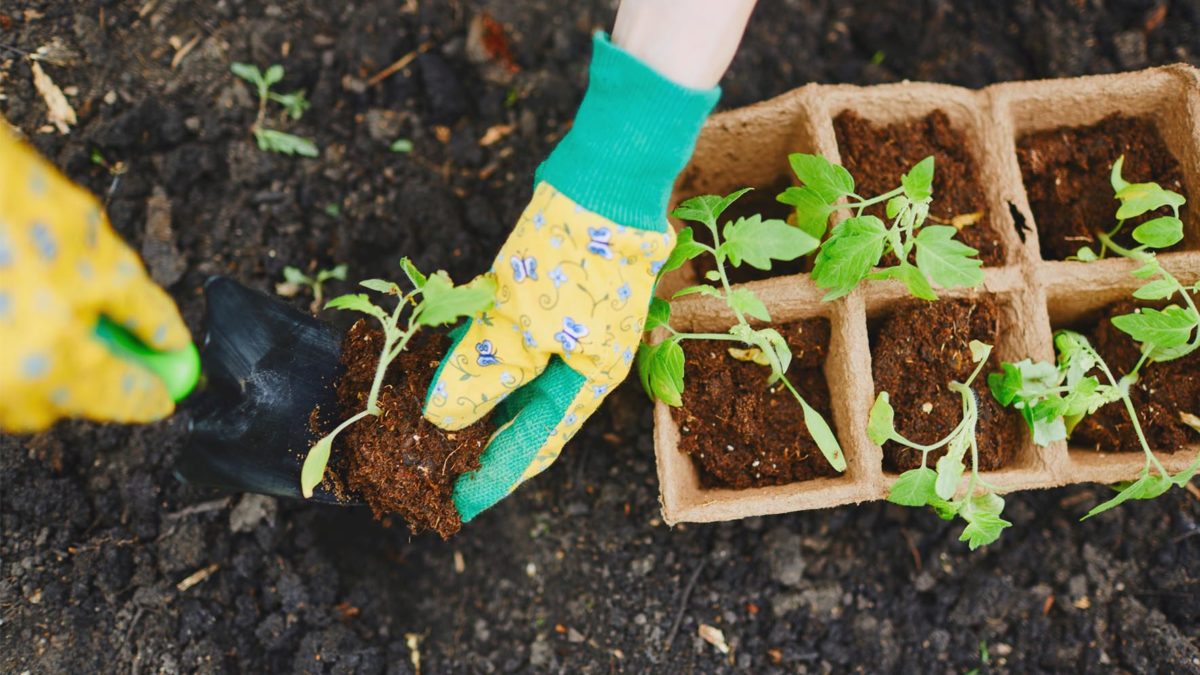
- Once the seeds have sprouted and grown 3-5 leaves its time to move them to their permanent home.
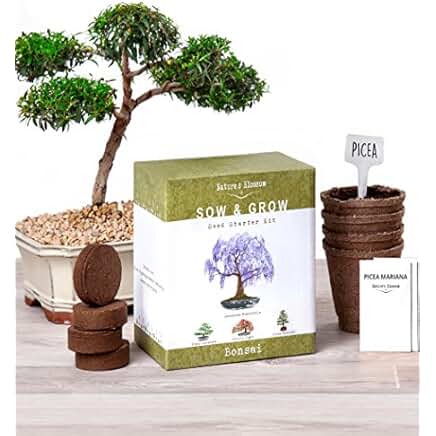
Seed Starter Kits
Another good option is to purchase a seed starter kit. These are pre-built kits that come with everything you need to start your seeds.
These come in a range of styles. Some are as simple as plastic trays with coverings, while others include extras like soil pellets for optimal growth. In most cases, these are going to be the easiest way to start your seeds. While not a hard requirement, they can make the whole process that much easier, especially for first time growers.
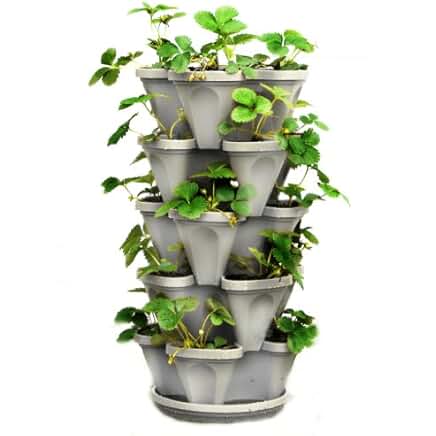
The Container
Unlike full grown plants, seeds don’t need as much room to grow therefore giving you more options for their containers. Their root systems are shallow which allows many non-traditional containers to be used.
Almost any sort of containers will do. Everything from old egg cartons, to pie tins, or even traditional planters will work. You can even start with a growing kit, which provide multiple small areas to plant your seeds. The only hard requirement is that the chosen container has proper drainage. A few holes in the bottom is enough to allow water to drain.
The other important thing to keep in mind is to make sure your container is clean. This is especially true if you reuse and older container or use one that’s been left outdoors. Seeds and seedlings are very susceptible to pests and infections; unclean pots can easily spread this. This is most important if the pot was used outdoors, but it doesn’t hurt to give it a quick once over even if it wasn’t.
In many cases, gardeners will start with a seed growing container and then transplant their plants once they begin to grow leaves. This is our recommended way to start as it makes it easy to manage the specific needs of your seeds and seedlings. You can always start in their final container as well, and this will work fine if the proper care is followed.
The Soil
Seedlings are very delicate, so it’s important to choose the right growing medium. Using a specific seedling mix is best, but any light soil will do. The key is to not use a medium that is too thick or heavy as the weak roots will have trouble spreading out in it.
You also want to avoid using any existing soil, whether that’s left over in your containers or taken directly from the outdoors. As noted above, seeds are susceptive to pests and disease and using old soil increases this risk. You should always start with fresh soil for best results.
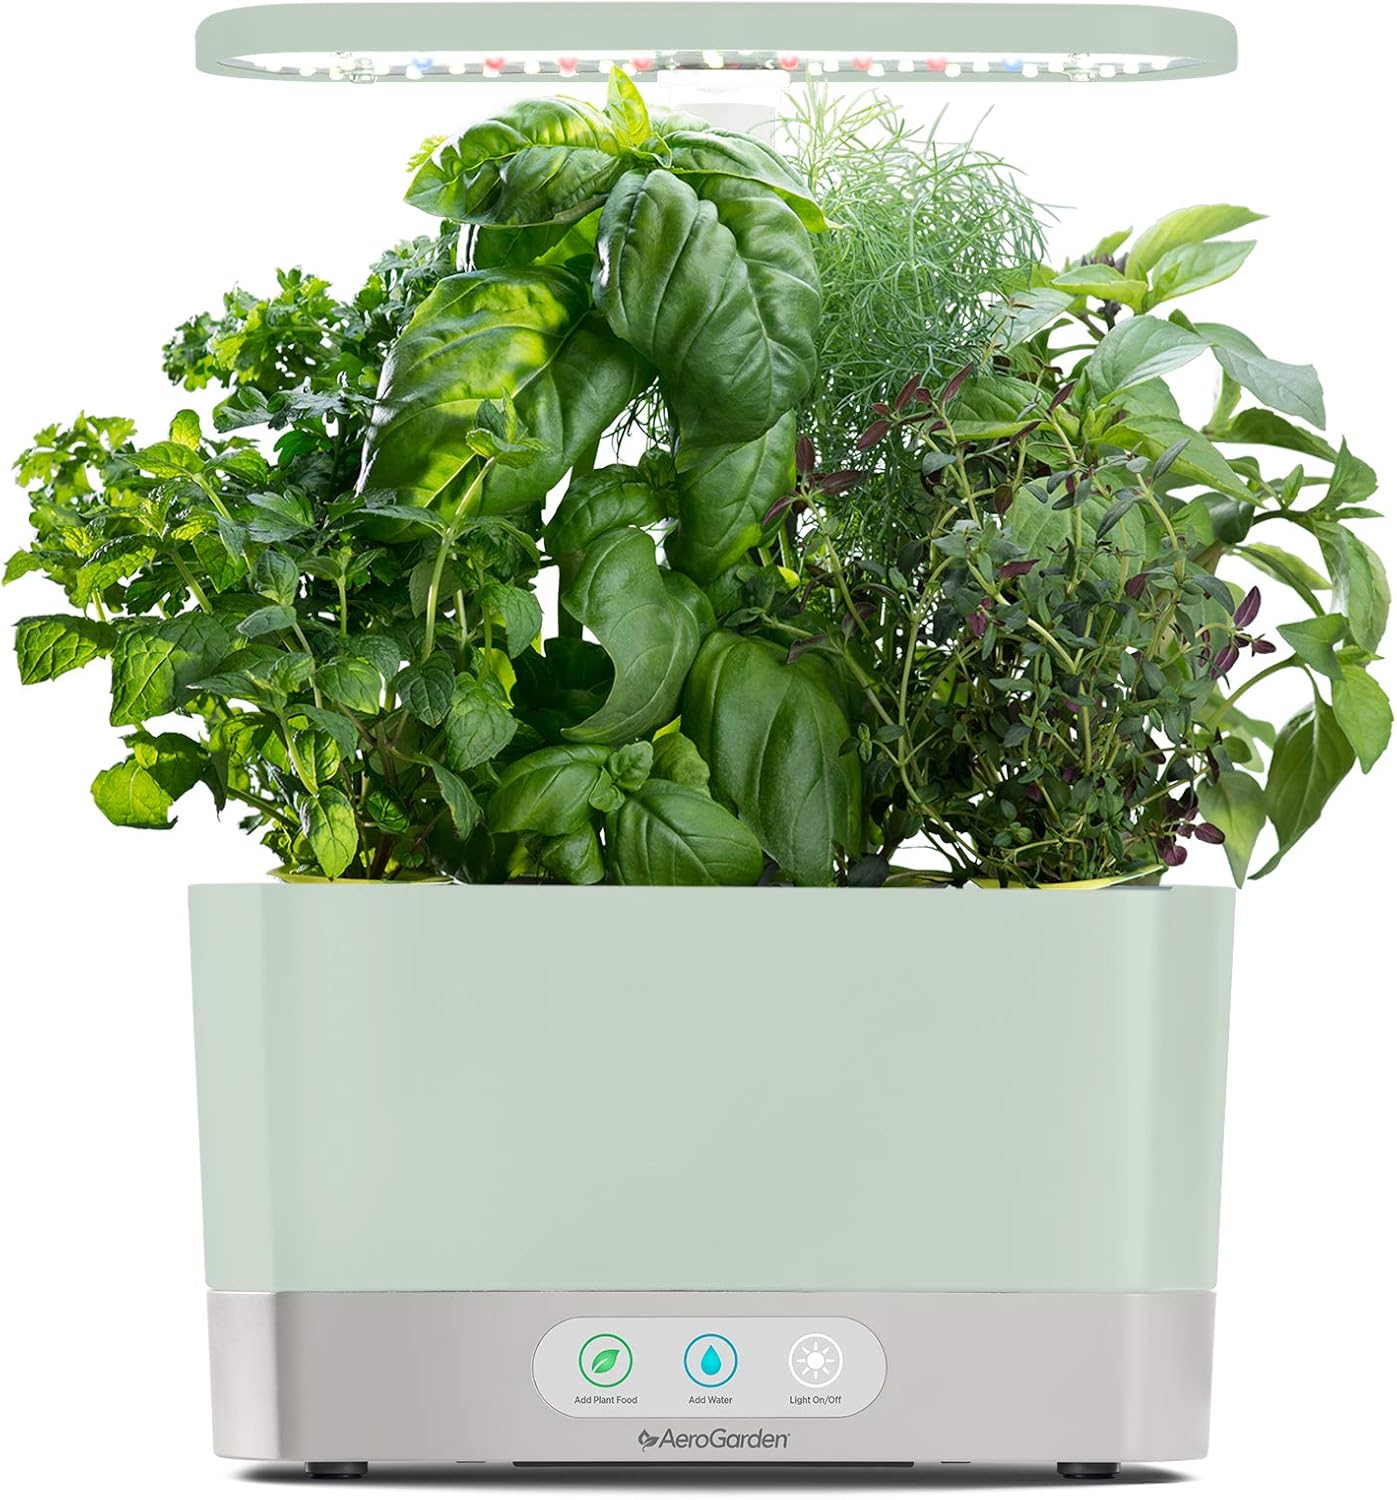
Lighting
One of the most important aspects to growing seeds/seedlings is having ample light. Without enough light you’re likely to end up with feeble looking plants that grow and produce poorly.
Put your plants in a large south facing window to expose them to the most light. If that’s not enough, setting up a few grow lights will work until the plants mature. A small grow light is often enough for a single grow tray or planter of seeds.
If using lights, you’ll want to keep them 3-4 inches above the plant. This means you’ll have to move them as the plants grow in order to promote proper growth. Also, this means using fluorescent bulbs is a no go as the heat at that range will damage the plant.
Keep in mind, that during the winter the sun is less intense in seasonal areas. If you’re starting seeds in the dead of winter natural light is even less likely to be enough and you’ll have to resort to grow lights.
Warmth
Before the seeds actually sprout, they will like a bit of extra warmth than a typical plant would. Many gardeners therefore place their grow containers on top of the dryer, refrigerator, or a few inches above a heating vent. You don’t want to bake them, but raising the temperature a few degrees will help encourage them to sprout.
You can also use a seed heat mat to help provide extra warmth. These are fairly inexpensive, and provide an easy way to keep your seeds warm.
Watering
Watering seeds is a bit different than a full grown plant. Firstly, in the seed stage you don’t have to water at all. The key is to moisten the soil before planting, and then cover the container with plastic to hold in the humidity. This will create an ideal environment for your plants, and the prevent water from dislodging or disrupting the plants.
Depending on the time it takes for your plants to germinate, it may be necessary to repeat this process. You want to keep the soil moist prior to germination. The plastic cover will help trap some water and humidity, but this is usually not enough over a few weeks timeline.
One the seeds begin to sprout remove the plastic (if applicable) and begin watering to keep the soil moist (but not drenched). As seedlings are still very weak a good technique is to water from the bottom. The soil will actually wick up the water, and if done correctly will provide enough for your plant to grow. This once again prevents any damage that might occur from watering weak plants. You can also continue to mist the soil to keep it moist, but be careful to ensure that your plant is getting enough water.
Read The Packet
Lastly, make sure to read the packet before sowing your seeds. Generally, the packet will have care information on the back that includes seeding and growing instructions. This includes things like how deep you should place the seed, and how far apart seeds should be placed. These factors are very important to growing healthy seedlings so take a few minutes to read over it before planting.
Some packets might also have information on growing instructions after it’s sprouted or suggestions on when to transplant or harvest. If you’re not familiar with the plan you’re growing it’s a good idea to keep these tips on hand to help speed along healthy growth.
When To Plant Seeds?
Timing is important, and is influenced by your end goal for the plant. If you’re growing indoors then anytime is a good time to start. The spring/summer may be a bit easier due to the increased light, but with careful care even the winter will be fine.
If you plan to move or start outside then you need to keep your environment in mind. Ideally, you want to ensure that you’ll transplant after your areas last frost date. It generally takes about 2-3 weeks for a plant to be ready to transplant so make sure that lines up with frost dates. In many cases this will be sometime in early to mid spring, but certain cool weather crops, like leafy greens, can often be started even sooner.
Starting From Seeds
Starting from seeds is a great journey that every gardener should experience. There’s just something special about starting from something so small and growing it into a thriving plant. If you have any other questions feel free to reach out, we’re always happy to help people on their gardening journey!
Common Issues
Only Some Of My Seeds Germinated?
There are many causes as why this happened when starting from seeds, but is often due to overwatering. Dig into the soil and find a seed, if it’s mushy that means the soil was too damp and the seed has rotted.
Note that even with proper care it is still normal for some seeds not to germinate. That’s why it’s often recommended to plant a few more than desired.
My Seedlings Are Weak and Spindly?
The most common cause for this is lack of light. Make sure your plants are getting enough light and rotate them every few days to ensure it’s received evenly.
My Seedlings Suddenly Died?
This is most often caused by soil fungus or bacteria that is collectively called damping off. There’s nothing that can be done after the fact, but starting with fresh soil and a clean container greatly reduces the risk.