Growing from seeds is a great experience and is a must for any gardener. There’s something so empowering about raising a full grown plant from a simple seed, and while it may be a bit of extra work it’s more than worth it. You shouldn’t be intimidated by it though if you’re new; any level of gardener can successfully grow a thriving herb plant starting from seeds. In this article we’ll take a look at how to grow herbs from seeds. This will be an indoor centric article, but all of the tips here will apply equally well if you’re growing outdoors. We’ll also try to call out any of the specific areas where indoors and outdoors differ.
Why Herbs?
Herbs are an excellent choice for indoor growth for a couple of reasons. First off, most herbs are quite hardy and fast growing plants. This means that they are generally easier to grow and have a quicker payoff. While many fruits or veggies can take over a year from planting to harvest, most herbs are ready to start harvesting within a few months or even weeks in some cases. Their rapid growth cycle also means that you’ll have to wait less time between harvesting.
Herbs are also very good at growing in relatively small spaces. A small windowsill in a kitchen is often more than enough room to start growing a small pot of chives for example. This makes them great for indoor growing where space is often at a premium. They’re also perfectly happy to grow outdoors, so those looking to grow both indoors and outdoors can do both.
Lastly, herbs are also some of the easiest plants to grow. They generally have very little care needs, and are also quite hardy. This also extends to growing from seeds, you likely won’t have any trouble getting your seeds to germinate and caring for the seedlings. This makes herbs an excellent choice for all levels of gardeners.
Key Things To Keep In Mind
The first and most important thing any gardener should do is to read the seed packet. The packet generally has all the information you need to get started and, more importantly, has details specific to the plant. Each plant has best practices for things like spacing and planting depth, so read your packet carefully to determine how to start.
There are a few key things to keep in mind, and each of these should be detailed on your packet.
Planting Depth
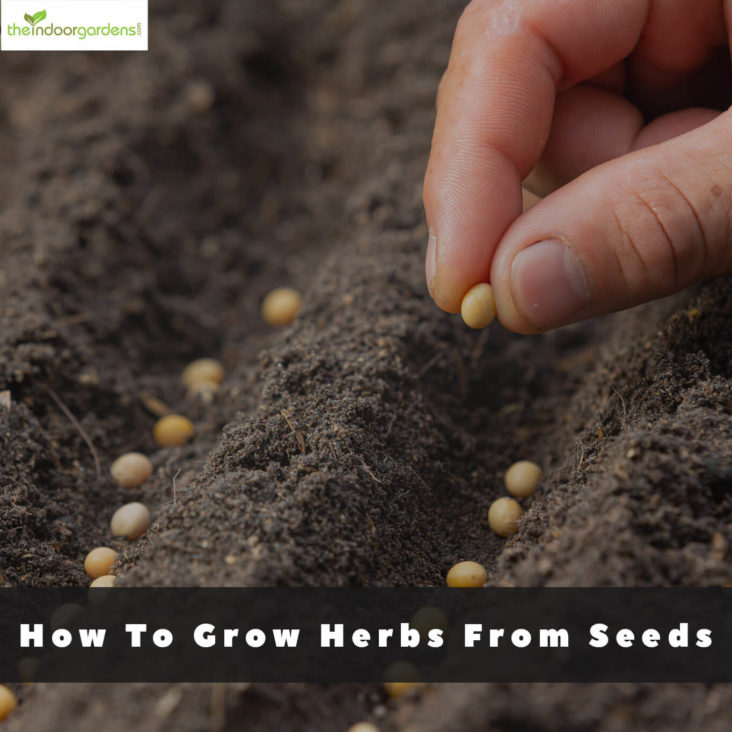
This is how deep you should plant your seeds. This is generally a fraction of an inch or so. You don’t have to be exact but try to come close to the recommendation. Some might also be surface sow, which means you place the seeds on top of the soil instead of in it.
Spacing and Thinning
Your spacing is how far apart you should sow each seed for best results. Later, you’ll thin to the recommended distance after the plants begin to germinate. This is done as not all seeds will germinate, so you plant more than needed to ensure enough growth.
Time To Sow
Useful if you plan to grow outside, this is the time period when you should plant your seeds. In most cases, this will be after the last frost date in your region. If you plant inside you don’t need to worry about this. If you’re starting indoors then moving outdoors you can usually start a few weeks before this date so your plants will be ready to transplant when it arrives.
Other Planting Tips
You might also see some other planting tips such as suggestions for watering or sunlight. These are specific to your plant, but no less important so keep an eye out for them.
Overall, reading the packet is the best first step to take. It has all the information you need neatly laid out and specifically tailored to your plant.
Planting and Soil Choice
In general, there are two ways to start seeds when growing indoors, in their final container or in a seed growing tray. Both of these options will work, and it often comes down to personal preference and the amount you’re growing.
Growing trays are a great way to grow lots of seeds easily. There are dedicated trays, or you can just as easily use household objects like egg cartons. You will eventually have to transplant your seedlings, but it’s quick and easy to do so. Starting here gives you more control over the soil which can help with keeping the temperature and humidity up which generally aids with germination,
You’re also just as easily able to start in your plants final container or sow directly into the ground if outdoors. This removes the need to transplant later, but you will have to be a bit more careful when sowing your seeds. It can also make it a bit more difficult to bring up the soil’s temperature which we’ll talk about in the next section.
For soil, make sure to use a high quality potting soil when growing if you’re starting with containers. This ensures that the soil has enough nutrients to start with as well as drains properly. If outdoors, you can supplement your garden’s soil with a diluted fertilizer or garden soil to help ensure it’s nutrient rich.
You can also utilize seed starting soil or kits. These take any guess work out of the equation, and provide you a nutrient rich soil specifically balanced to encourage seed germination and growth.
Caring For Seeds
Before your seeds sprout there are three key things to provide to it grow properly; water, heat, and light. Each of these is important and lacking one can stunt the growth of your plant. Note that some seeds may have slightly different needs in one or more of these categories. The tips below are general advice that should apply to most seeds, but always check your packet for specific instructions.
Heat
Before a seed sprouts it’s important to keep the soil warm as this helps with germination. There are specific plant heating pads, but lacking this many gardeners will place their seed trays on top of their fridge. The extra heat will help ensure your seeds germinate properly and promptly.
After the seed sprouts maintaining the soil temperature is less of a concern as long as it doesn’t fall too low.
Water
Most seeds will only germinate in moist soil so it’s important to make sure you’re watering it appropriately. A seed will not need a ton of water, but you should check the soil to ensure it remains moist until the plant sprouts.
Many gardeners will tape plastic or cling wrap over their seed tray until the seed sprouts to trap in moisture. This is very effective and almost completely removes the need for watering. The downside is that it can lead to mold, so should be watched carefully. Once the seed does sprout you can begin to follow the care guidelines for that particular plant in terms of watering.
Lighting
Lastly, we have lighting which can greatly differ between seeds. Some may require lots of light, others want darkness, and some don’t care one way or the other.
In general, for herbs, you’ll want to give them about 4-6 hours of sunlight before they sprout. This is where reading your packet will come in handy as it should list the ideal location and sunlight requirements.
It’s important to note that these care guidelines are generally for seeds before they germinate. Once they do sprout and grow into full fledged plants you’ll want to follow the specific care guidelines for the plant.
Transplanting
If you’re planning to move your plants outside or starting with a seed tray there will come a time when you’ll want to transplant your plant to it’s permanent location. This is generally around the time that the plant develops its second set of true leaves. Thankfully, the process is very easy and young seedlings typically transplant very well.
Start by loosening the soil around the seedling. Gently poking the soil with a fork or similar object will help with this. Once the soil is loosened up gently pull the seedling out by handling their leaves. Avoid pulling too hard or you may damage the roots or stem.
Prepare the new location by filling the container with high quality potting soil and then create a small hole to place the seedling. Gently place the plant into its new home and cover any exposed roots with soil. You’ll want to give the plant a quick watering immediately after the transplant.
Once it’s done give your plant indirect light for about a week. This will help the plant recover from the move and help to prevent burning the plant out.
Continued Care
After that you’ll want to simply follow the care instructions for your chosen plant. One last word of caution is that sometimes you’ll want to give seedlings a little less direct sunlight to prevent burning out the leaves. If you notice the leaves begin to yellow or brown it may be a sign that the plant is getting too much intense light. This is mostly a concern for seedlings, especially those just transplanted.
On the flip side, if you notice spindly, long, and weak stems this is often a sign of not enough light. Plants will naturally “reach” for light if they aren’t getting enough and this can lead to weak stems and plants that fall over.
Lastly, don’t be afraid to harvest often. Harvesting your herbs is an important part of their growth, and actually helps them grow. This is especially true for leafy herbs like basil. Picking their leaves will encourage them to grow more and is an important step. Just be sure not to pick too many, leave about 2/3 of the total leaves, and your plant will grow back stronger.
How To Grow Herbs From Seeds
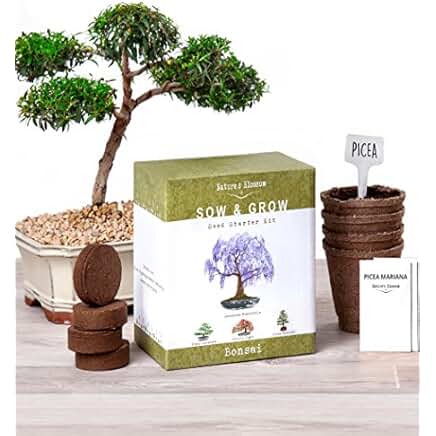
Hopefully you’ve learned a lot about how to grow herbs from seeds and are excited to try it out on your own. If you’re looking for a quick start, check out this kit from Amazon which comes with everything you need to get started. These kits are a fantastic way to start, but not a necessity by any means, feel free to choose your own herbs and build your very own garden.