When it comes to indoor houseplants, there is no shortage of different types that you can choose from. One popular option is the Boston Fern, which is known for its long, cascading leaves and ease of care. This terrific plant is a great addition to any home or office space and it can thrive in a variety of different climates. Today we’ll look at how easy it is to start growing boston ferns.
Overview
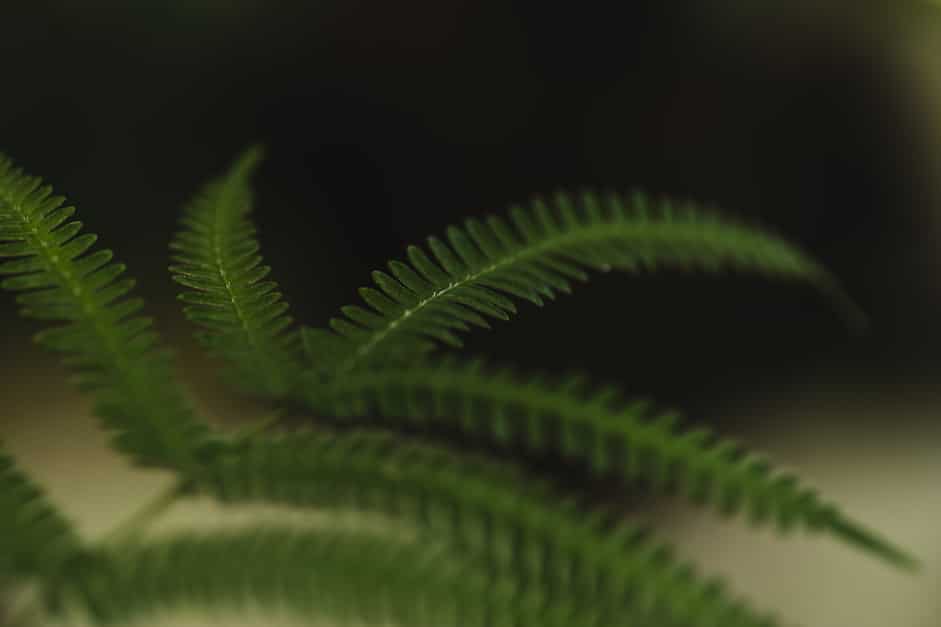
Boston Ferns are a type of fern that is found all over the world. These plants are characterized by their long, cascading leaves, which can reach up to 3 feet in length. Boston Ferns make a great addition to any home or office space as they are incredibly low-maintenance and provide a lush, green look. They grow great in standard containers, as well as hanging baskets.
- Also known as the ladder fern, boss fern, or sword fern.
- Can grow up to 3 feet both indoors and out.
- Have been known to last for decades when properly cared for
- Excellent, low maintenance indoor house plant
- Can be grown outdoors in warm, humid climates
- Goes great in hanging baskets as well as traditional containers
Soil and Container
Boston Ferns grow best in well-draining soil that is rich in humus. The soil should not be too dense as it may cause the roots to rot and make the plant susceptible to pests like mites. It is generally good practice to purchase potting soil for Boston Ferns from your local nursery, but you can also easily make your own with peat moss, perlite or vermiculite and some composted bark or coir. Most commercial potting mixes will work fine with boston ferns.
When choosing a container, most options will work. Choose one that is slightly larger than the root ball of your plant, or about 6”+ if starting from seeds. Whatever container you choose, make sure it has proper drainage as boston ferns do very poorly when waterlogged.
Boston ferns also make excellent hanging plants as their long leaves will spill over a hanging container. This makes them great choices for any hanging baskets along a balcony or suspended indoors.
Growing From Seeds
Boston Ferns can also be grown from seeds. To do this, you’ll need a pot filled with moist soil and then sow the seeds on the surface of the soil. Make sure to keep the soil moist, but not too wet, and place the pot in a bright location. It will typically take a few weeks for the seeds to sprout and begin growing. During this time you should follow the instructions on your seed packet. This is overall slower than starting with a seedling, but not particularly difficult as Boston fern seeds tend to take fairly well.
Lighting
Boston Ferns prefer indirect light but can also tolerate low light levels. If you are growing your Fern indoors, place it near a window where it will receive indirect sunlight. If you are growing your Fern outdoors, choose a shaded spot that gets sunlight for a few hours per day.
You want to avoid direct sunlight as this can burn out the leaves of your fern. You should also look to avoid too much shade as this can lead to slow and leggy growth.

Water/Feeding
When it comes to watering your Boston Ferns, they should only be watered when the soil is beginning to dry out. The plant should never sit in water after you have watered it and, if possible, do not water from above as this may cause fungal growth.
Overall, err on the side of less water as overwatering is one of the biggest issues gardeners will face. Wait until the top 2-3 inches of soil is dry before adding more water, and look to water the soil instead of the plant itself.
It is also generally recommended that you adjust or reduce the amount of water you give your plants during the winter months since their growing season has ended. Boston ferns tend to go dormant in the winter, so naturally need less water and nutrients. During this time, you can continue to mist them to keep them hydrated and keep humidity levels up.
Boston Ferns should be fertilized regularly during the spring and summer months to encourage healthy growth. You can use a water-soluble fertilizer that is high in nitrogen, or alternatively you can feed your plants every 2-4 weeks with a slow-release fertilizer. Be careful not to over-fertilize as this can damage the roots. If you notice that the fronds of your Boston Fern are beginning to yellow, this is usually a sign that they are getting too much direct sunlight or that they are being over-fertilized.
During the winter you can stop fertilizing as the plant is dormant and not actively growing. Resume your schedule in the spring.
Temperature and Humidity
Boston ferns do quite well in most indoor environments, but should be protected from temperature extremes. Temperatures that are 90+ Fahrenheit, or get close to freezing, will harm the plant. You should also avoid any sources of temperature changes like drafty windows or heating vents.
Boston ferns do best when kept at a relatively consistent temperature. Any comfortable indoor temperature is likely to be fine, as long as it doesn’t vary more than 5-10 degrees on any given day.
Boston ferns do enjoy high humidity as well, and grow best when kept in an environment that provides that. The easiest way to lightly mist them every 1-2 days. Take care not to go overboard though as excessive misting can lead to fungal issues.
You can also utilize pebble trays to help keep the local humidity high. These trap in moisture, and are an easy way to increase the humidity around your plant. They’re also very low maintenance and typically require less time than daily misting does.
Propagation
Boston Ferns can be propagated by dividing the root clump or by taking stem cuttings. To divide the root clump, use a sharp knife to cut the clump into two or more pieces. Be sure to leave at least one healthy stem on each piece. Replant the pieces in pots filled with potting mix and water well.
To take stem cuttings, cut a 6-inch piece from the tips of healthy Boston Fern fronds. Remove the bottom leaves from the cutting and dip the cut end in rooting hormone. Plant the cutting in a pot filled with potting mix and water.
Pruning
Boston Ferns don’t need to be pruned often, but respond well to it. Start by removing any dead or dying fronds. Then, remove areas on the sides of the plant as desired. Avoid taking fronds off the top as this can damage the plant.
The best time to prune your plant is in early spring or right before replanting. Avoid doing so in the winter when the plant is dormant.
Replanting
It’s good practice to repot your Boston Fern every couple of years. Look for roots to begin peeking out of the soil or drainage holes to be sure that your plant needs a bigger home.
To repot, choose a container slightly larger than the root ball of your plant. This is usually about 2-3” larger than your existing container. Then, gently remove your fern and replant it at roughly the same depth in its new container. Give it a fresh dose of water to moisten the soil, then place it in a warm spot that gets in-direct sun
Growing Boston Ferns
Growing Boston Ferns is easy and they can thrive in most homes with the right care. Keep them healthy by watering regularly, giving them enough light, and keeping their soil moist. With these simple steps, your Boston Ferns will stay lush and beautiful for years.
FAQ
Why are my Boston Fern leaves turning yellow?
There are several reasons why your fern might be turning yellow. The most common reason is low humidity and poor soil drainage. If you notice this, make sure you’re watering correctly and waiting until the soil is dry between waterings. Most gardeners will only need to water their Boston fern every couple of days. If you’re watering more than this then there’s a good chance you’re overwatering.
The other main cause is too much direct sunlight. If you’re confident you’re watering correctly then try moving your plant to a location that gets indirect light.
What do I have to pay attention to when repotting?
When repotting, you will need to pay attention to the roots of your Boston Fern. You want to make sure that the roots are not damaged or crowded in the new pot. Also, be sure to use fresh potting soil and water well after replotting.
What Diseases are affecting Boston Ferns?
There are several diseases that can potentially affect Boston Ferns. These include leaf spot, which is caused by various fungi and causes the leaves to develop circular spots of different sizes. Another common disease is known as fern wilt, which develops when there is a fungal infection in the root system of the plant. This often happens after you have transplanted your Boston Fern from one location to another or repotted it during its growing season. You may also notice that your Boston Fern begins to lose its lower fronds as well as its ability to produce new fronds if they are suffering from dry air damage.
How Long Do Boston Ferns Live?
Boston Ferns will easily survive multiple years and, with proper care, can live for several decades.