Microgreens are a nutritious and delicious addition to any garden that many people are beginning to grow. What’s more, growing microgreens is simple and can be done easily indoors as well as out. Microgreens are the perfect veggies to grow on a sunny windowsill, and can take up as little or as much space as you want them to. This makes growing microgreens an excellent choice year round and for any level of gardener! Today we’ll look at growing microgreens, and how you can get started.
What Are Microgreens?
Simply put, microgreens are juvenile plants. They are the immature seedlings of a wide variety of plants. A microgreen doesn’t specific a specific type of plant, although there are some general guidelines, but the age of the plant.
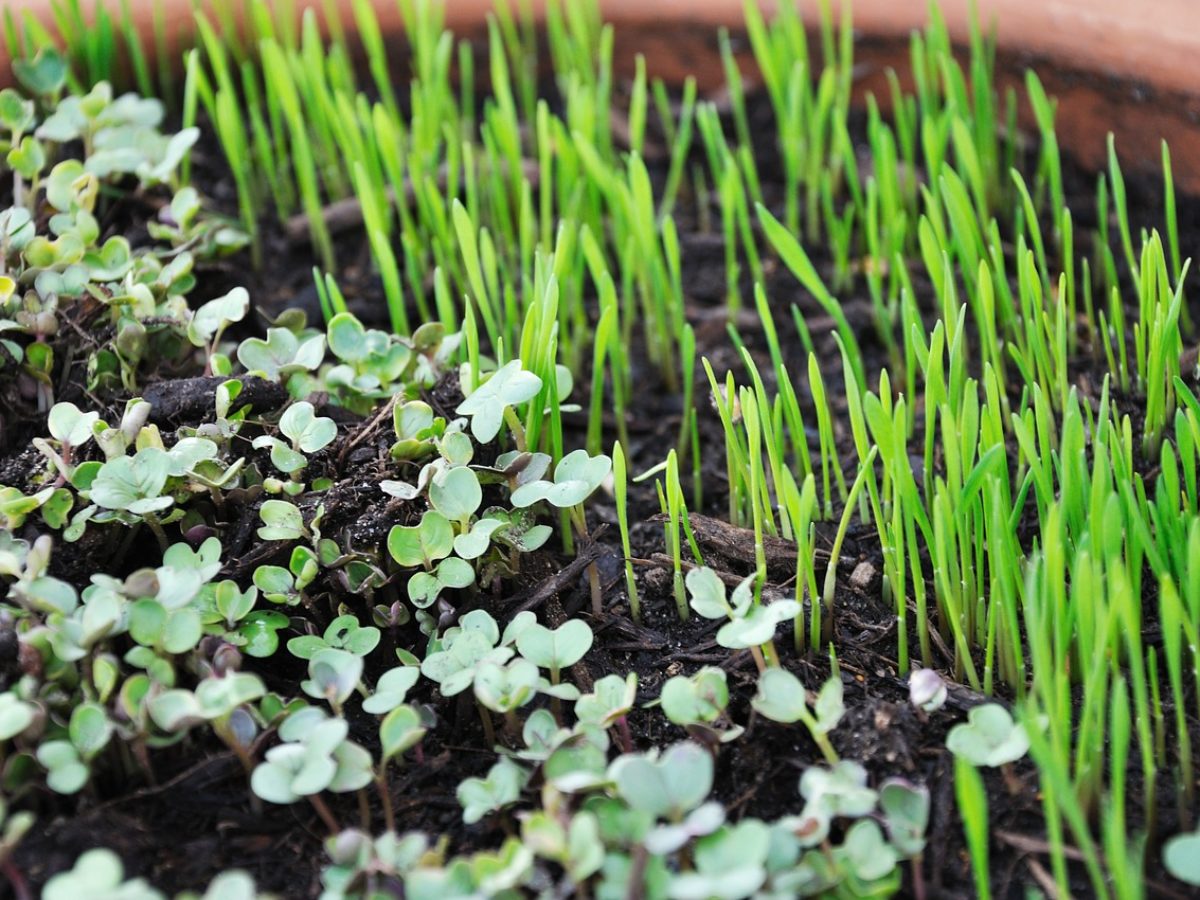
A plant is typically called a microgreen once its first set of true leaves has sprouted. In general, plants are usually considered microgreens around the 14-21 day mark which is often when they’re ready to harvest.
A key idea is that microgreens are not one specific plant, but a large range of them. The microgreen typically describes the age and size, not the specific plant itself.
This is important as it means microgreens have a very short growth cycle allowing for frequent harvesting. It also differentiates them from sprouts which are typically harvested even sooner than microgreens.
Why Grow Microgreens?
The big reason that most people grow microgreens is for their nutrient content. Research has shown that microgreens can have up to 40 times the nutrients of their mature counterparts. This gives those looking to add nutrients to their diet an easy way to do so.
Microgreens are also very quick and easy to grow. Since they’re by definition immature you can harvest them much sooner than you would normally. This give gardeners lots of bang for their buck and makes growing microgreens a very attractive option for the health conscious grower. If you space them correctly, you can have a constant supply of microgreens due to their quick planting to harvest time.
Lastly, microgreens take up very little space. You can grow a fairly steady supply of greens in a space as small as a windowsill. This makes them very attractive for urban growers or those looking to make the most of their space. For those with more space, you can grow a surprisingly large amount of harvestable veggies without needing a large amount of space.
Supplies Needed To Grow Microgreens
We’ll get into the specifics below, but here’s a quick list of the bare minimum you’ll need to start with microgreens.
- A container; almost anything can be used from standard seed trays to take out containers. Opt for a container that is wider than deep and ensure it has proper drainage.
- Seeds, almost any kind will work, we’ll touch on some popular ones later. Microgreen gardens are also a good candidate for older seeds as their compactness can offset age related germination problems.
- Soil, nearly any type of standard potting soil will do.
That’s really all you need to get started. If you’re already an avid gardener there’s a good chance you have most of what you need already lying around.
What Microgreens To Plant?
As microgreens are not a single type of plant but a broad term for a large variety you have a lot of options for what to grow. This give gardeners a lot of options, and really opens the doors for lots of unique combinations.
Some of the easiest to start with are leafy and salad greens. These types are great for beginners, and are likely to grow with very minimal effort. For first timers, these are great options to start with.
Don’t feel limited by that though, there are large variety to grow such as broccoli, cauliflower, or cabbage. For beginners, it’s best to start with a single type and branch out from there. You can also buy premixed packages that combine multiple greens with similar growth rates. These pre-packaged items are also a great starting point for beginners and can provide a lot more variety and flavor than a single green.
Planting Microgreen Seeds
Start with a small clean container. You can use a wide variety of non-traditional containers when growing microgreens, and many people use plastic containers like takeout trays or even pie tins. That said, feel free to use any sort of container or pot that you have available. You can go as small or as large as you want, microgreens will grow in almost any type of container.
In any case, make sure there is some drainage in your chosen container, and if not, poke a few holes in the bottom or you’ll have to be very careful not to overwater. Having drainage is important when growing any type of plant, and prevents the plants from sitting in water which can lead to root rot.
The key thing to remember here is that since these plants will not grow to maturity their root systems do not require a deep container. Using a container that is wider than deep will allow for more to be planted, but use what you have available and what you have room for!
Fill your chosen container with about two inches of soil. If you’re using a standard pot that is quite deep you can fill the majority of the container with small pebbles, this will also help with drainage. Give the soil a solid watering to moisten it.
Next, scatter the seeds evenly over the top of the soil, don’t worry too much about spacing. Give them a light covering with a bit more soil, not more than a quarter inch or so, and they’re ready to go.
Caring For Your Microgreens
Once your seeds are planted, you’ll want to place them in a location that gets bright light for at least 4 hours a day. If growing in the winter, aim for 6 hours or more to compensate for lessened intensity of sunlight during these months. In proper conditions, you should expect your plants to germinate in less than a week, although this can vary a bit based on which type of plant you’re growing.
Before and after germination aim to keep the soil moist. You don’t want it to be drenched, but a consistent moisture. This generally requires a good misting once per day, and maybe a light watering after a week or two. As noted, keep the soil moist but don’t let the plants sit in overly wet or soaking soil.
Outside of that you really don’t have to do much to care for your microgreens. They’re also quite resilient, and can spring back quickly from a brief period of lack of care. You won’t need to fertilize them, and most care like pruning isn’t relevant due to their quick growth to harvest time.
Harvesting Your Microgreens
Keep the light and water schedule up for roughly 2-3 weeks and your greens will be ready to harvest. This should be about the time your greens start to develop their first set of true leaves. Simply grab a pair of scissors, and snip the plants just above the soil line taking the stem and the leaves.
You can also simply pull the plants, root and all, but this will prevent them from re-growing. Some kinds of microgreens can be harvested multiple times before they need to be re-planted if you snip instead of pull. In these cases, you may be able to get 2-3 harvests before it’s time to swap out for fresh soil and some new seeds.
Serve the cuttings immediately for freshest flavors, or they can be stored in a fridge for around a week. It’ also okay to let the greens sit before harvesting them, if you’ve grown a lot at once you can come back each day to harvest a fresh bit.
That’s really all there is to it! The simplicity combined with the deliciousness of the fresh veggies is what makes microgreens such a popular choice for all levels of gardeners. Due to their quick growing cycle, when done correctly, it’s easy to always have a fresh supply
What About Outdoor Microgreens?
During the warmer months the same process can also be used outdoors. The main thing to keep in mind here is the general frailness of the seedlings. This means keeping them safe from things like heavy rain or winds. I tend to move my microgreens indoors before any large storms to prevent any issues.
It’s also a good idea to plant them in a spot that gets a decent amount of shade to prevent them from being burned out by the more intense outdoor sun. Partial sun is usually a good choice for growing microgreens outdoors.
Other than those few points, the process is largely unchanged. With proper care, microgreens make a perfect addition to any outdoor garden.
Growing Microgreens
Microgreens are easy to grow, and a delicious addition to many meals. Growing microgreens is a great way to add some veggies to your diet, and being super easy means anyone can do it! We highly recommend it for any level of gardener!
For those looking for the easiest way to get started we highly recommend a starter kit like this one on Amazon. This takes away all the guess work, and gets you started with everything you need to get started. Following the link above will also reward us with a small commission through Amazon’s affiliate program which helps us to create more great gardening content!
Microgreens FAQ
Do Microgreens Regrow?
In general no, most microgreens are good for a single harvest. Some kinds can be harvested multiple times, but will often loose some of their flavor after the first harvest. In these cases, 2-3 harvests is usually the max; afterwards you should start with fresh soil and new seeds.
Can Microgreens Be Grown Outside?
Yes, but it’s important to protect them from the elements. Microgreens are immature plants, and are susceptible to pests, intense sunlight, wind, and other environmental issues.
How Much Light Do Microgreens Need?
Most will need about 4-6 hours of indirect, bright light. More is okay, but avoid direct sunlight in mid day as this scorch the leaves of the delicate plants.
Do You Need Grow Lights To Grow Microgreens?
Grow lights are not strictly necessary if you’re getting enough sunlight. If your having trouble getting enough sunlight a good grow light can help keep your plants healthy. When using grow lights, aim to get an additional 2 or so hours of light to compensate for the reduced intensity.
What Happens If You Let Microgreens Keep Growing?
Without intervention they will likely die. This is due to microgreens being planted in shallow containers and very close together. This is not an ideal environment for most plants, and will lead to their death. If you want, you can transplant your microgreens much as you would any seedling.
How Often Do You Water Microgreens?
This will depend a lot on the local environment, but a good rule of thumb is about every other day. Check the soil, and if the top inch begins to feel dry water them.